Fashion product photography is now one of the most important aspects of the clothing industry. A special mention should be made of clothing product photography. Image quality is also important in providing a consistent experience for online shoppers. A product can be completely described using only product description. Photographs of clothing samples play an important deterministic role in determining whether or not they will be purchased. A professional photographer can only be identified by how he or she works because they have much more experience, which is critical in this situation.
In this article, we will look over how you can take pictures of clothes for online stores and photography tips that will help you achieve success like never before. With a step-by-step guide, we will show you how to capture clothing photos and what happens inside a photography studio while doing so. We’ll look at how to move forward with photographing clothing and some things to keep in mind as we continue to improve.
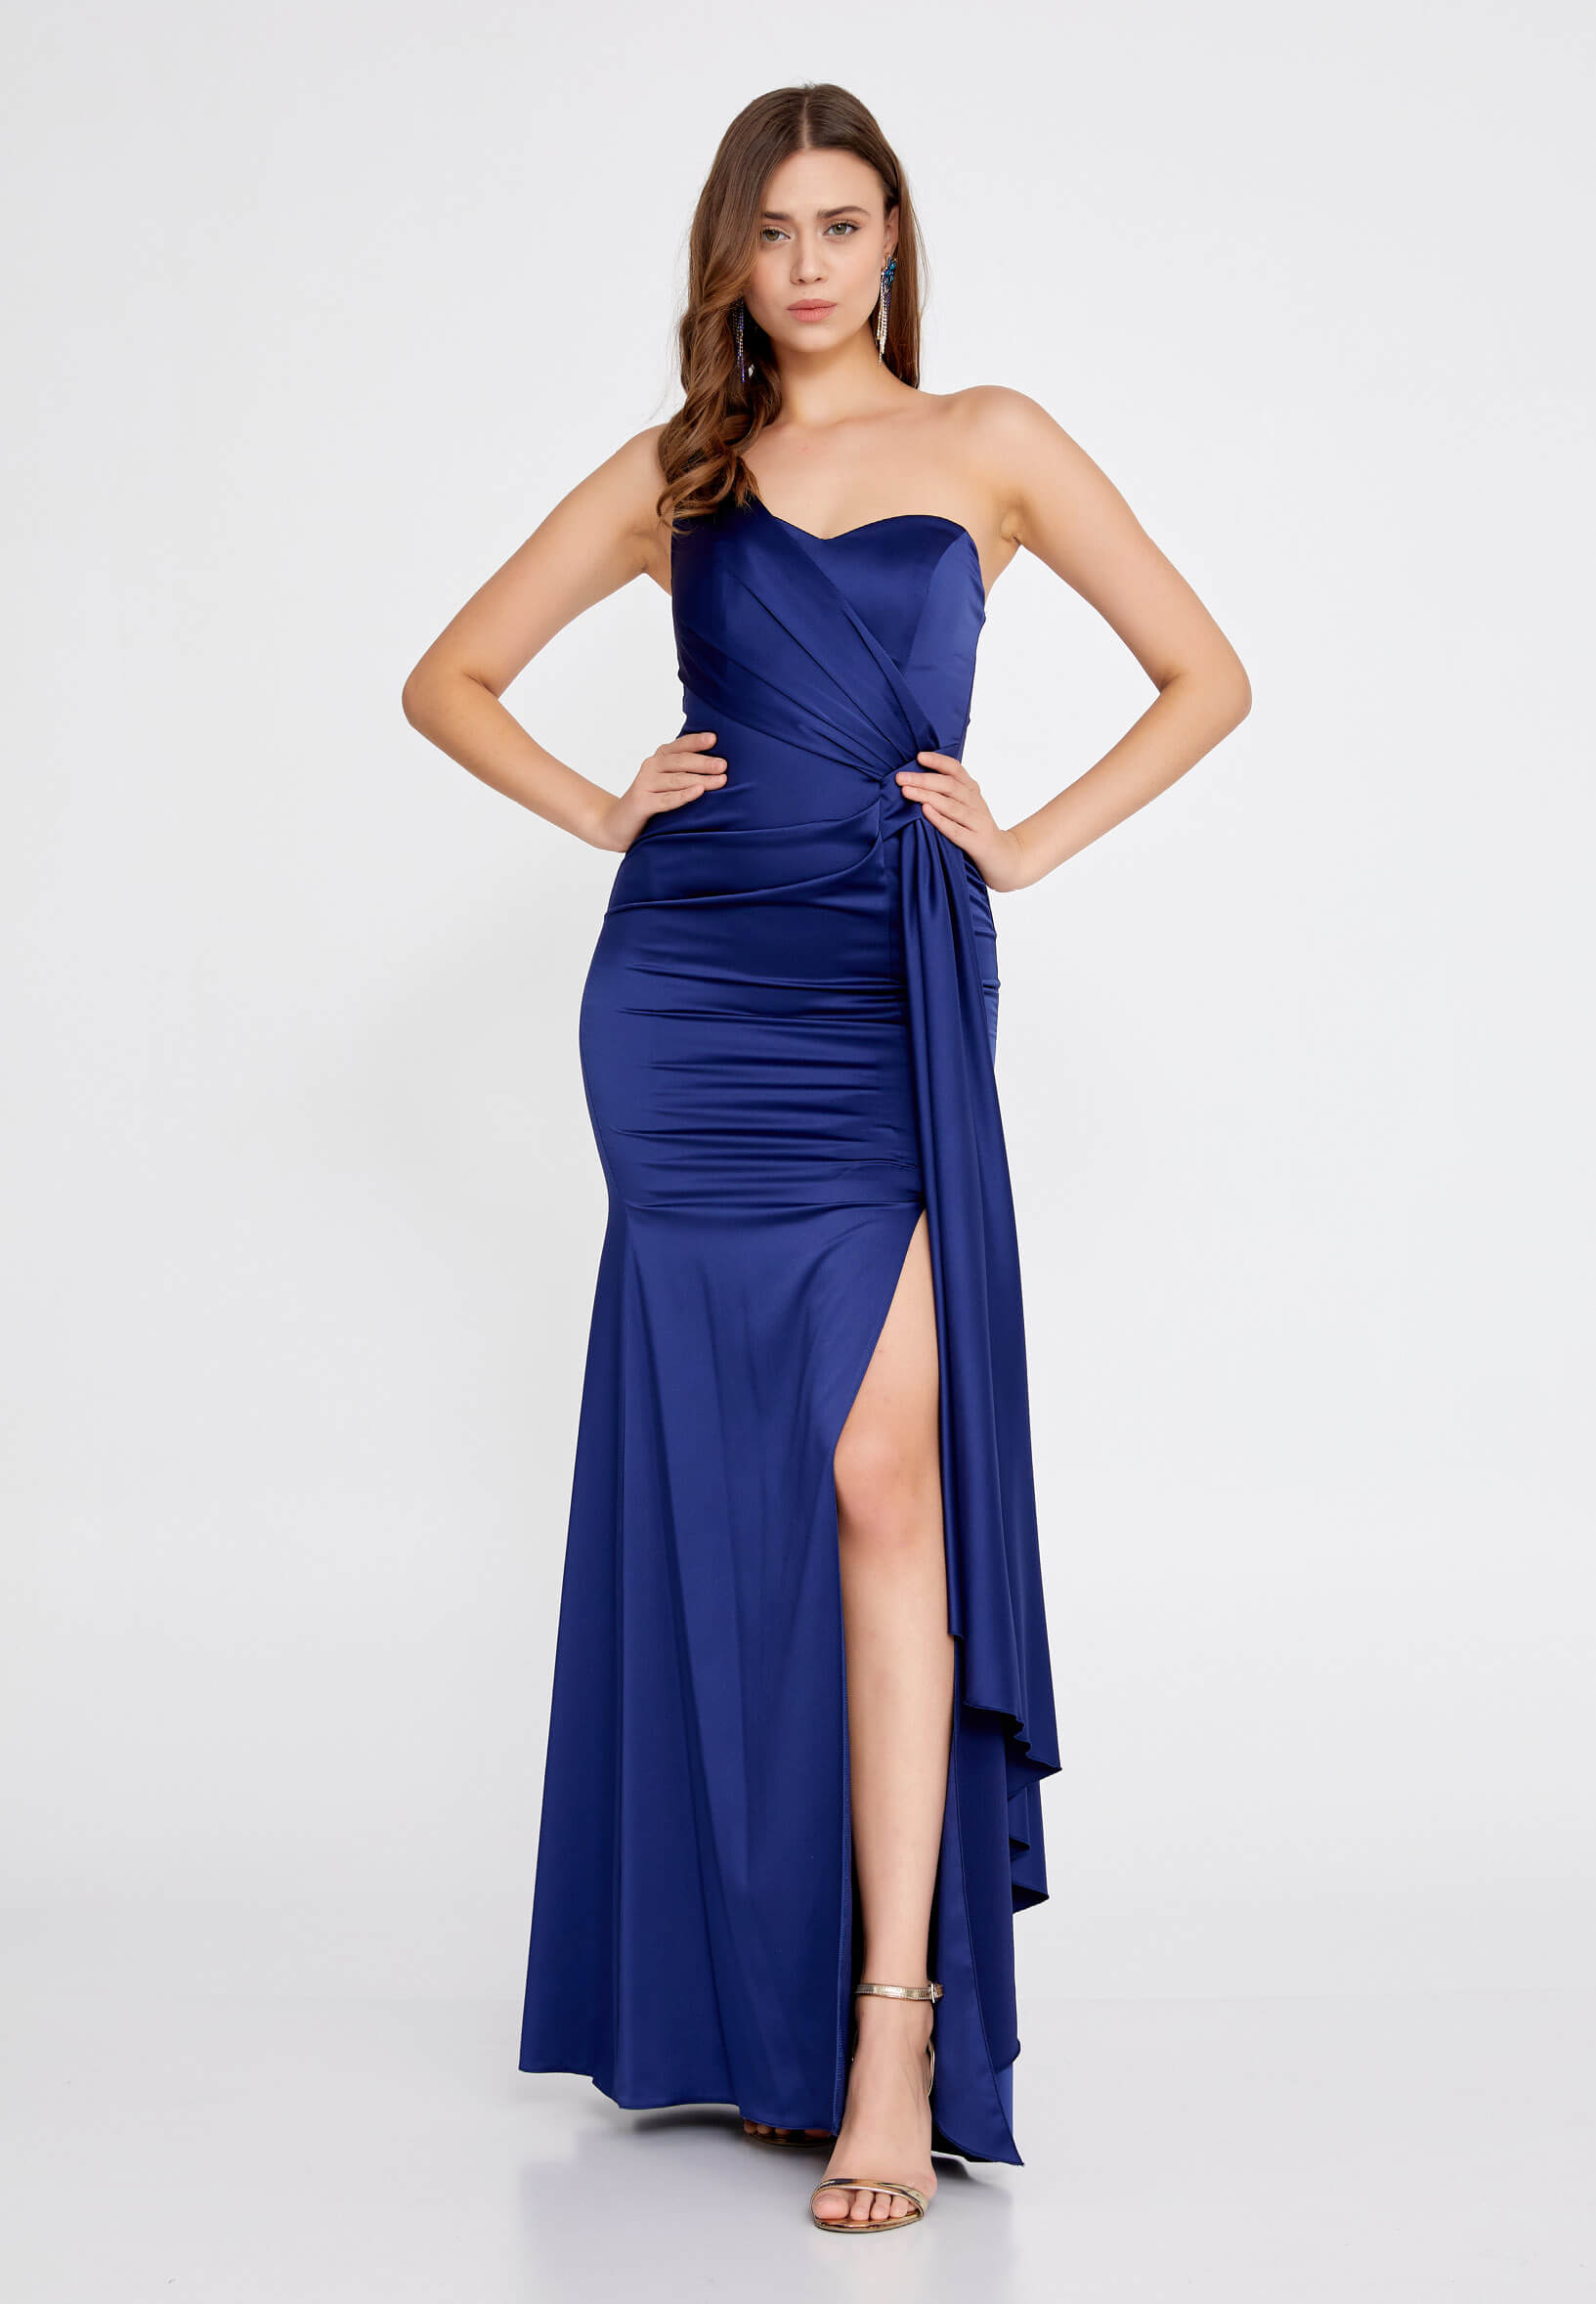
Check out our Strapless Maxi Satin Column Regular Navy Wedding Guest Dress product on our website
Clothing Photography Equipment You Need
Clothing photography is an essential part of any boutique business. Photographing clothing will require a set of tools to capture good, working shots. However, purchasing cameras and other tools may be prohibitively expensive. If you want to keep your costs to a minimum, consider purchasing low-cost items that will do the job. It is not necessary to purchase the most expensive DSLR camera to photograph clothes. All you need are appropriate tools and a pinch of willingness to experiment.
Suppose you need some good artificial lighting equipment for clothing photography. In that case, we'd like to point out that artificial lighting can be achieved with some inexpensive tools available on the market and online. Later, if necessary, you can purchase more expensive displays and lighting kits for improved output. However, it is optional for beginners.
You can even use your smartphone if you're new to photographing clothing. There is no hard and swift rule about using a specific type of camera to pursue product photography. You can use any camera you own, whether it's a digital camera, a smartphone, or a point-and-shoot. However, if you can afford it and have a lot of money, you can use a more expensive camera, such as a DSLR.
Mirrorless cameras are the most popular type for clothing photography due to their current technology, stage lighting connectivity, and significantly lower weight when compared to standard DSLR cameras.
A tripod prevents camera shake, which occurs when your camera is accidentally moved during a session. Because everyone experiences it. Set up the camera on a tripod, frame the product, and photograph it. It's simple to grasp. Tripods don't come in one size fits all, so you should make sure you get the right one for your camera. Now let's take a look at our guide to clothing photography.
Step-by-Step Guide to Clothing Photography
We have compiled a very extensive and detailed list for clothing photography. Our step-by-step guide to clothing photography will definitely help you out.
Prepare Your Clothing
In your images, your products should look their best. As a result of storage and transportation, clothing can get wrinkled, creased, and worn. Clothing samples have it especially tough because they often travel a long distance and may have needed to have been better prepared.
Preparing to clothe for photography is a vital initial step. Still, many photographers neglect it in favour of using Photoshop or other free photo editing software to remove wrinkles, stains, and other noticeable imperfections. Don't do it. Photoshop isn't magic: mastering advanced editing takes time and expertise, and excessive editing risks compromising image quality.
Try to capture your garment as close to perfect as possible and only use Photoshop for finishing touches and color correction.
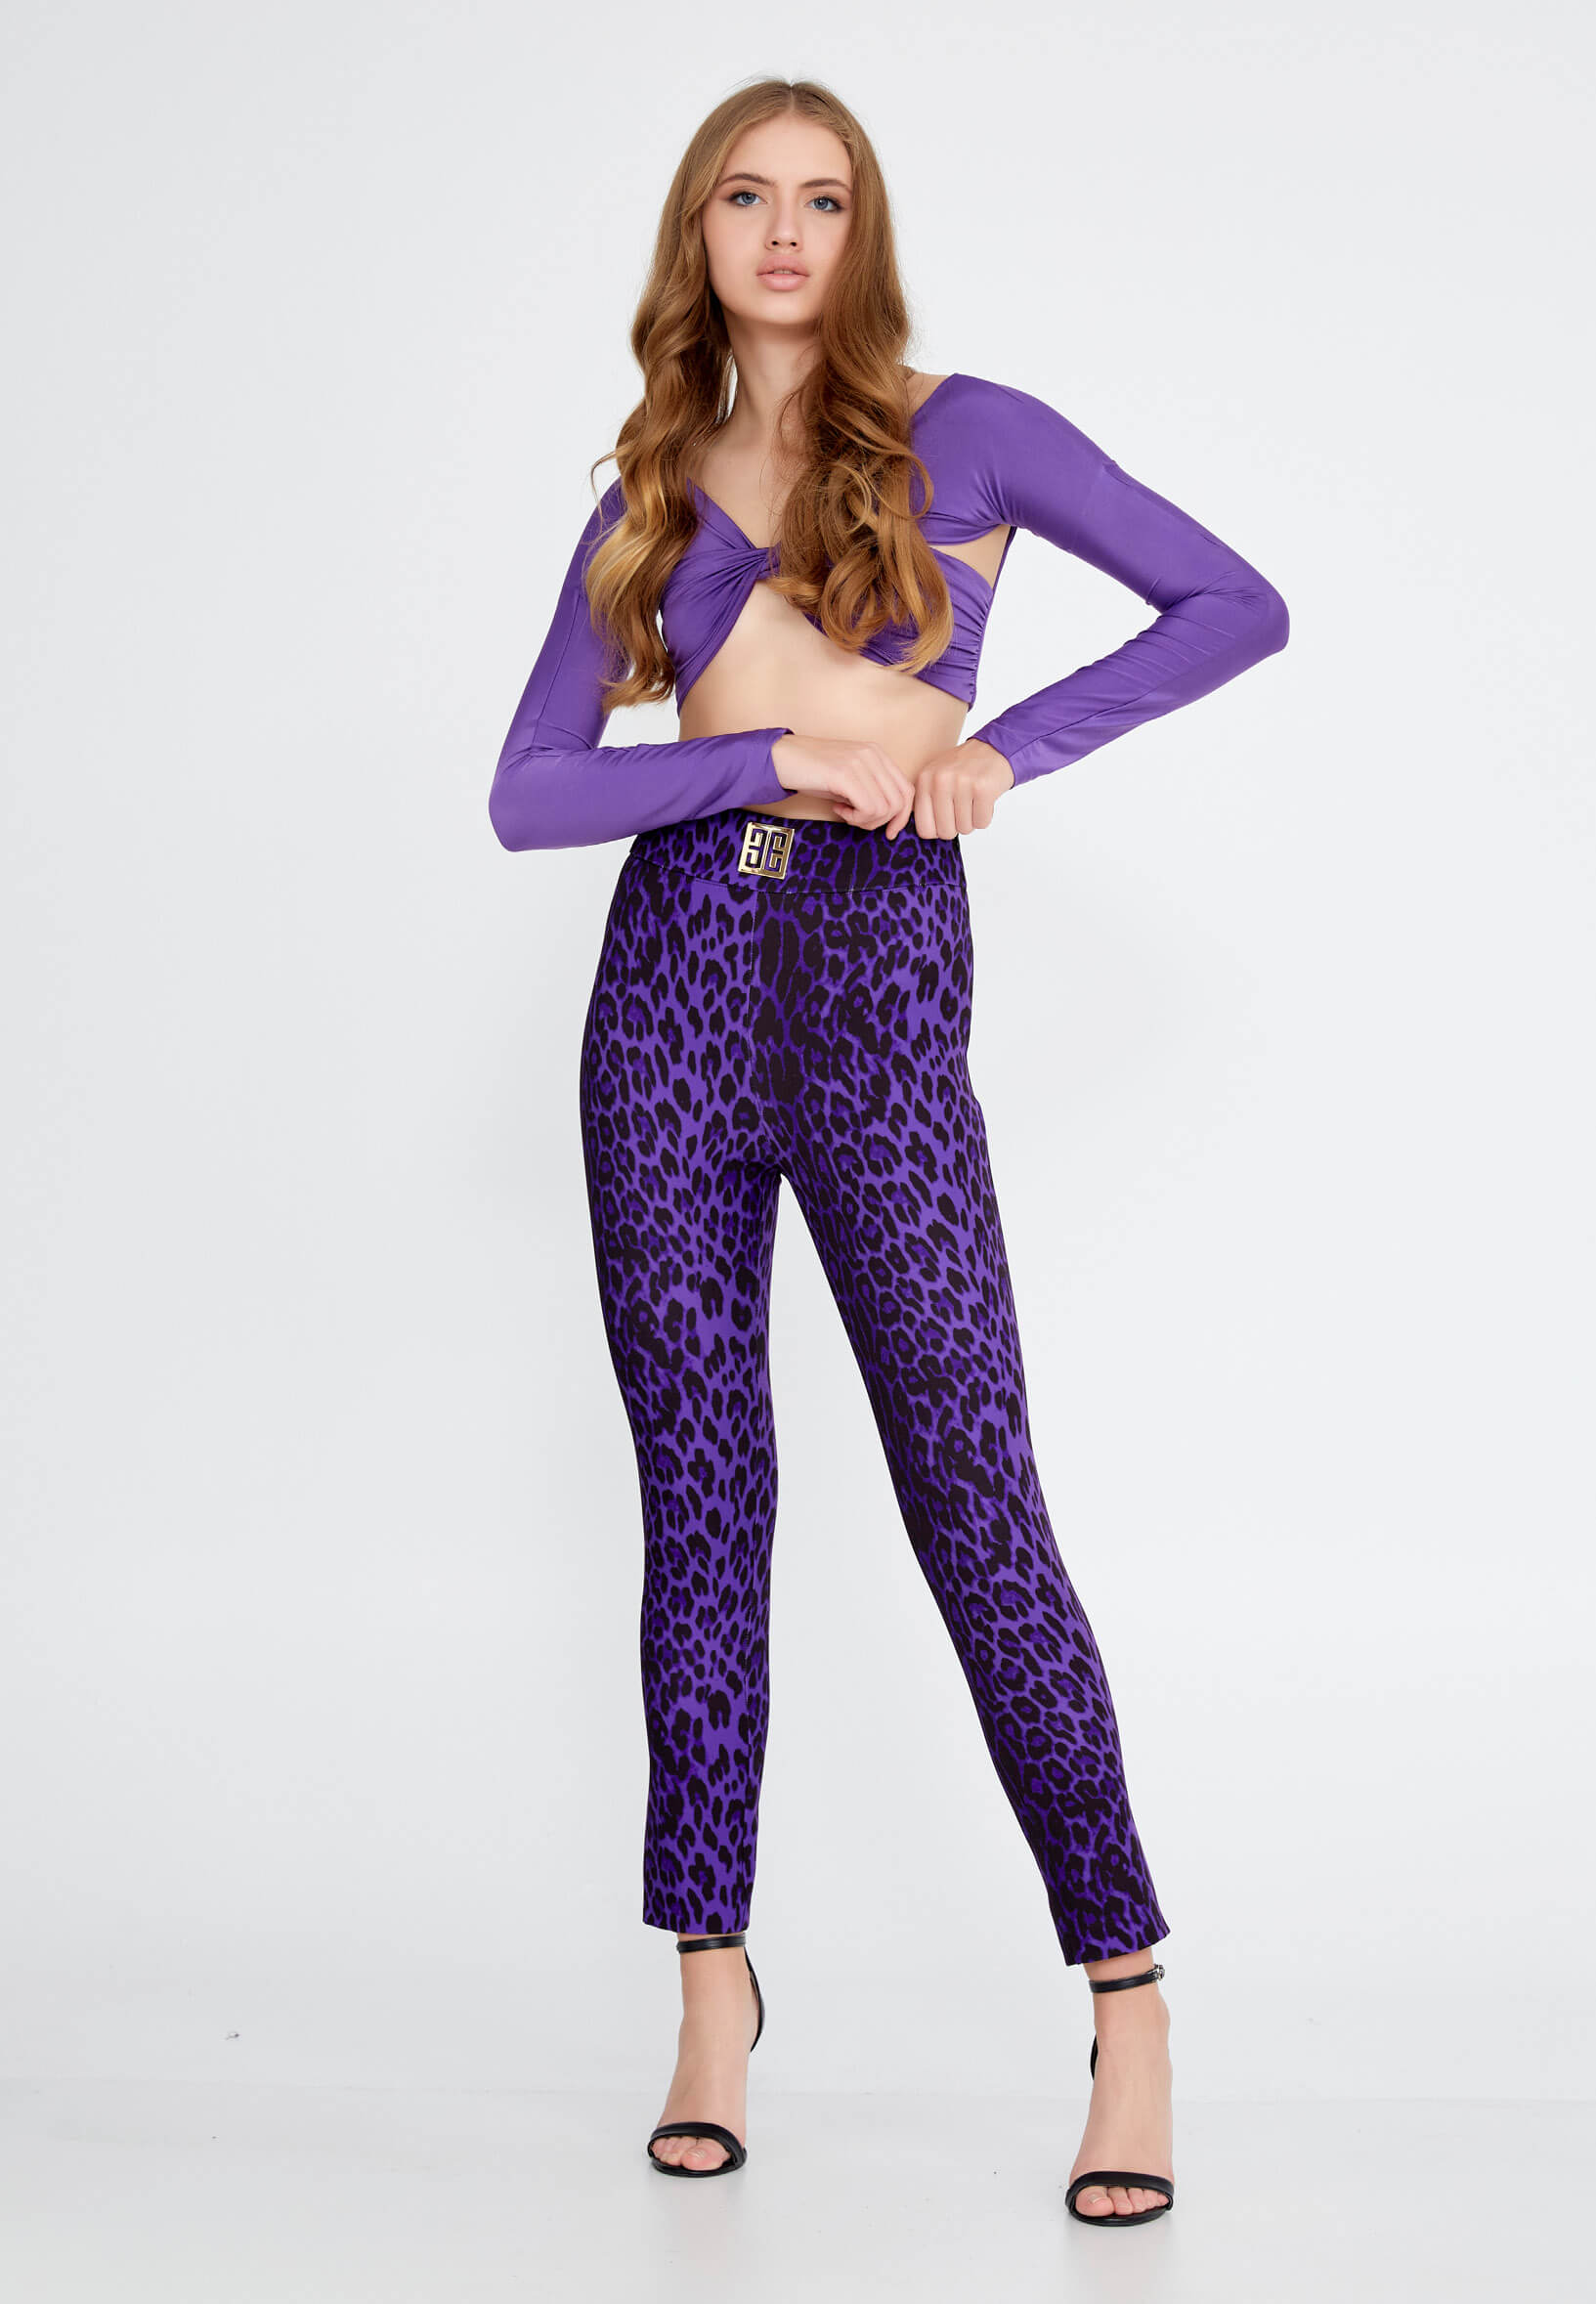
Check out our Skinny Fit Regular Purple Pants on our website
Set up Your Studio
You can transform nearly any room into a photography studio with a few simple items. Aside from a camera and a tripod as your essentials, a white wall, C-stand, duct tape, and natural light will suffice. If you have more money to spare and want more authority over when and where you shoot, it's worthwhile to invest in a few more pieces of gear.
Position Your Lighting
If you're using natural light, place your product near a window for even indirect lighting. If you're using a monolight setup, here's an effective lighting setup diagram from above. To achieve uniform and soft illumination throughout, position one light source and a softbox or umbrella at an angle of 45 degrees to the product.
Maintain a direct line of sight between your camera and your subject. You may get some shadowing if you place the product too close to the background. To achieve a clean, white background, simply move the subject further away from the backdrop. Reduce the power of your light source to about half.
Style Your Clothing
Clothing preparation is critical, and you must take care of it before you begin taking photographs. If you want to save both money and valuable time, this step must be completed with extreme caution. Both photography and post-production would be more fluid and efficient.
For example, IFC, a wholesale wedding dress supplier, processes its garment photography rather professionally. For wedding dresses and almost anything, garments should be smooth and wrinkle-free; when they look good, it increases their attractiveness. Customers are more likely to purchase such garments. Because, in the end, it is the images of clothes that customers look forward to when purchasing one for themselves. As a result, preparing the garments is a critical step in clothing photography.
Set Your Camera
If your camera settings need to be corrected, no amount of Photoshopping skill can make your images look professional. Before photographing your products, make sure you understand ISO, aperture, and white balance.
Make sure your ISO is between 600 and 640. Higher ISOs generate distracting "noise" or "grain," which are greyish or colored speckles that make photographs appear filmic. The higher you go, the louder the noise. Because the camera can't capture as much sharpness at higher ISOs, details become softer. You can keep your ISO at 100 or 200 for maximum clarity and sharpness when using a tripod.
Have you ever seen a photograph that appeared to have been taken through a blue or orange filter? The white balance was most likely off. Light sources have varying degrees of warmth, resulting in a color cast that makes it difficult for your camera to determine true white. The white balance setting on your camera determines how it reflects the colors it records. You can adjust your white balance based on the type of light source you're using, or you can leave it at Auto and let the camera decide.
Finalise in Editing
Once you've finalized the shoot, you'll need to prepare your product photos for the web. Post-production editing aims to make your photos look professional while still performing optimally.
As digital assets are easily convertible, and the time and cost reductions are enormous, this is the most straightforward and efficient step to outsource.
If you prefer to do it yourself, make sure your post-production process includes alignment, cropping, background removal, and color correction to ensure a consistent and professional appearance of your clothing such as wholesale trenchcoats and wholesale prom dresses. Keep track of your procedures to create a standard set of guidelines for shooting and editing.
Istanbul Fashion Center is a wholesale clothing supplier, and IFC has you covered if you're looking for a supplier to buy in bulk. With its extensive catalogue, IFC has everything from wholesale dress sales to jackets, pants and everything. Please contact us for more information on bulk buying.


